How to Create ZIP and 7Z File Using ZArchiver
Want to combine several files into one compressed archive on your Android phone? ZArchiver lets you create ZIP and 7Z files from documents, photos, videos, and folders in just a few steps. You can choose the archive format, adjust compression settings, and add password protection when supported.
In this guide, you’ll learn how to select files, name your archive, choose between ZIP and 7Z, and find the finished file on your device.

How to Create a ZIP File Using ZArchiver
Follow these steps to combine multiple files or folders into a single ZIP archive.
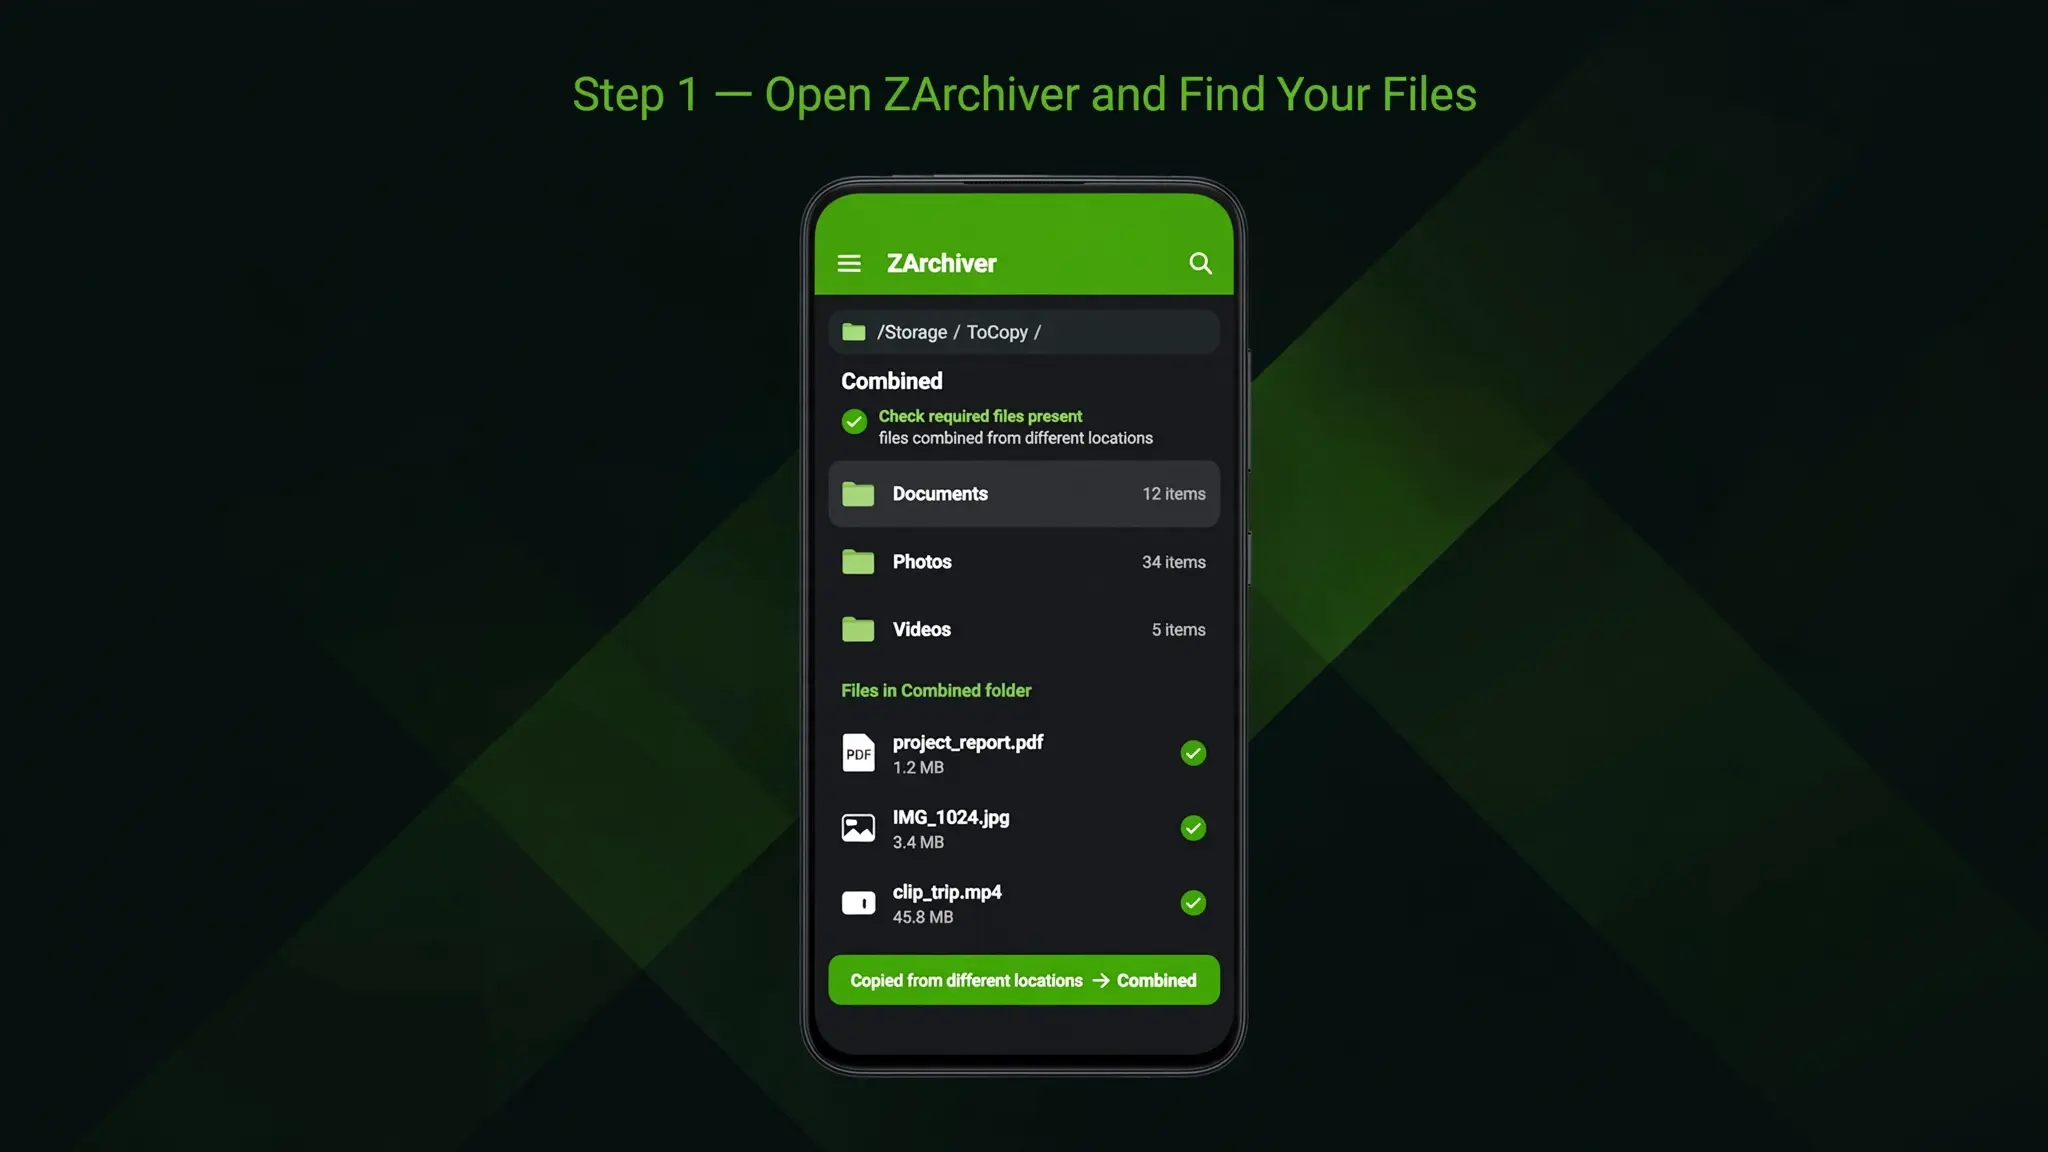
Step 1: Open ZArchiver and Find Your Files
Launch ZArchiver on your Android phone and navigate to the folder containing the files you want to compress. These could be documents, photos, videos, or several folders that you want to keep together.
Check that the required files are present before continuing. If you want to create a ZIP containing files from different locations, you may need to copy them into one folder first.
Step 2: Select the Files and Folders
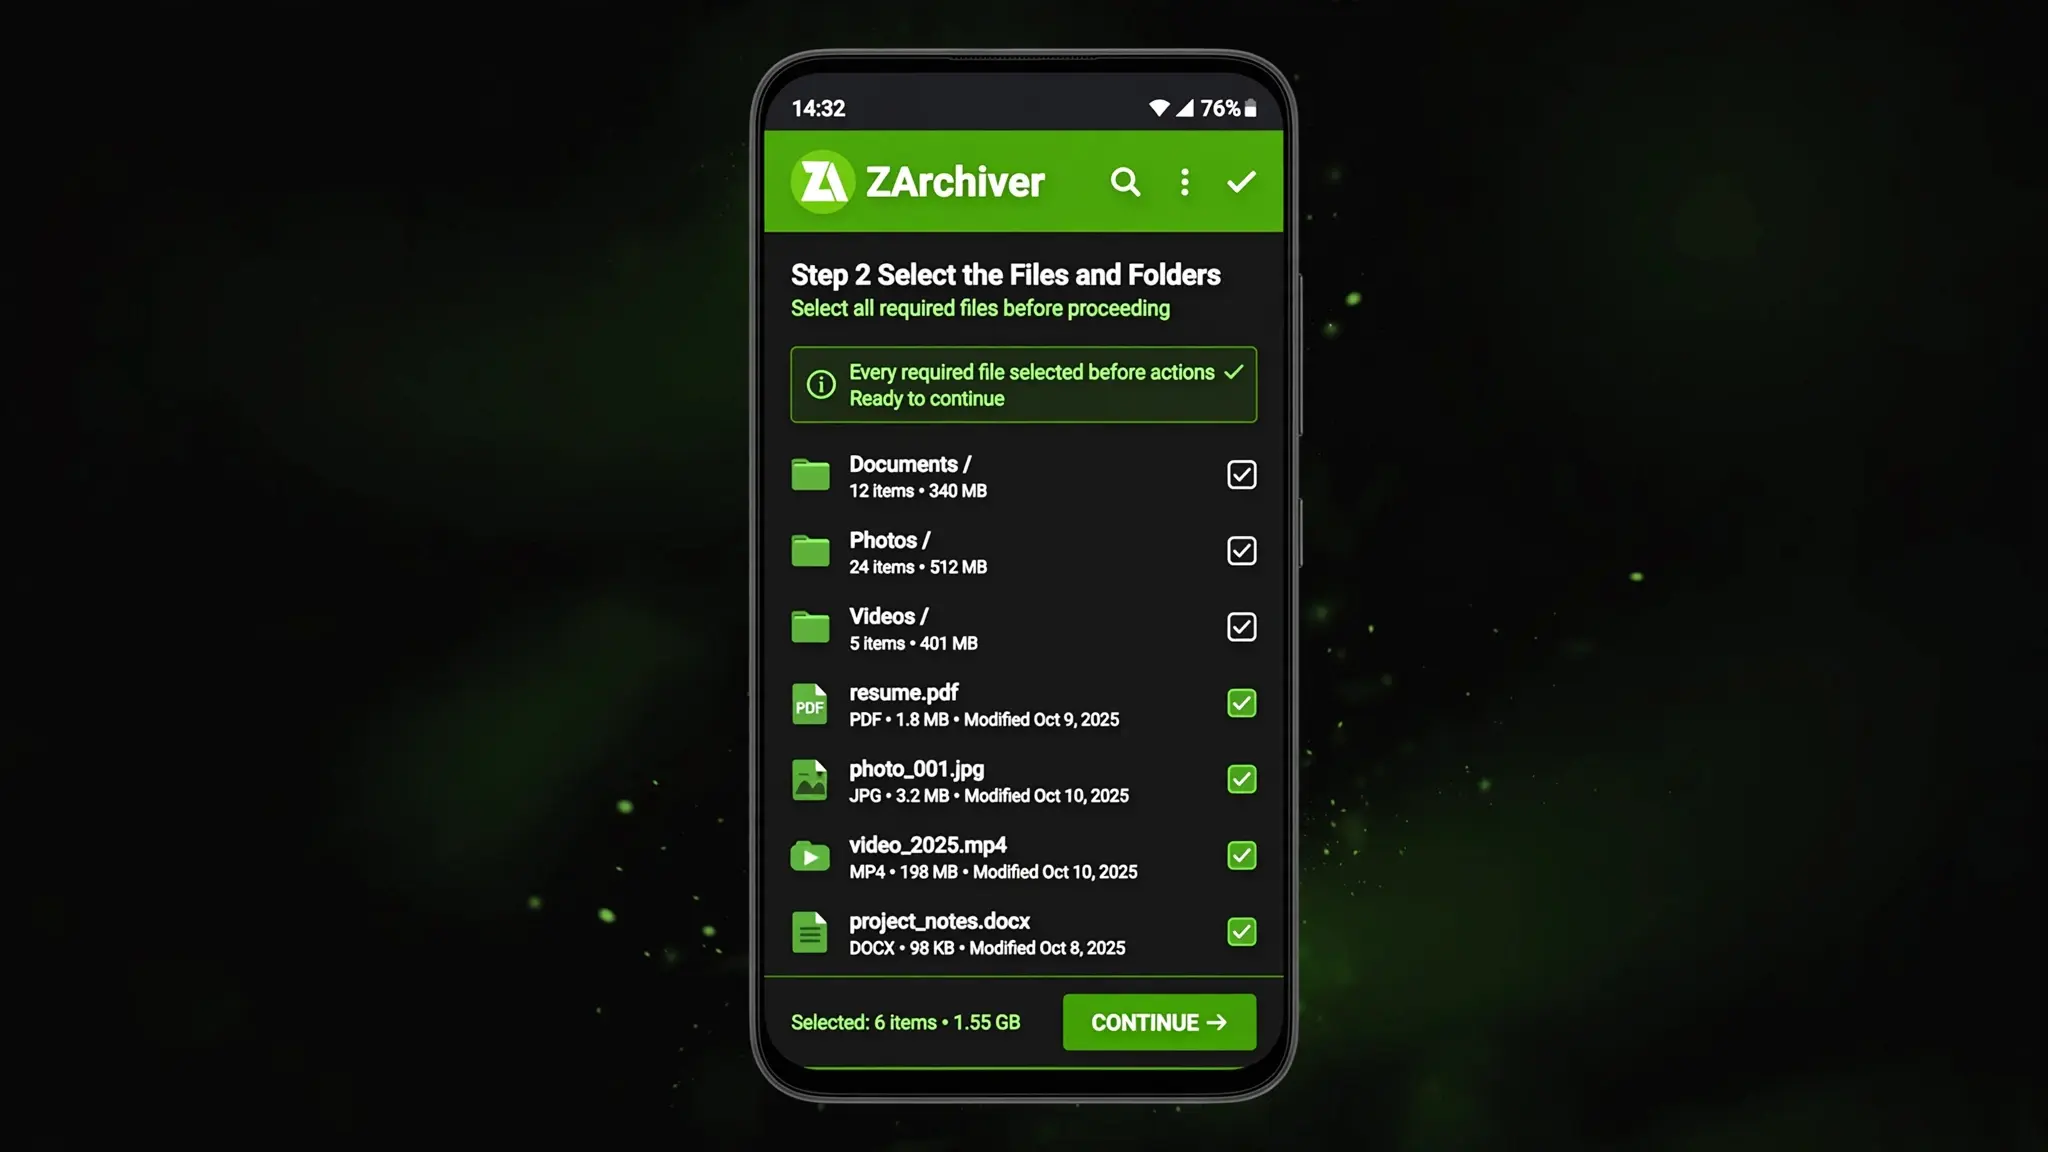
Select the items you want to include in your ZIP archive. In ZArchiver, you can usually tap the selection icons beside filenames to select multiple items.
Make sure every required file and folder is selected before opening the available actions. This helps prevent unwanted files from being included or important ones from being left out.
Step 3: Choose the Compress Option
After selecting your items, open the available actions menu and choose Compress. Depending on your app version and interface, you may need to tap the menu in the upper-right corner or open the action menu for the selected files.
ZArchiver will display options for configuring the new archive, including its name, format, and available compression settings.

Step 4: Name Your ZIP Archive
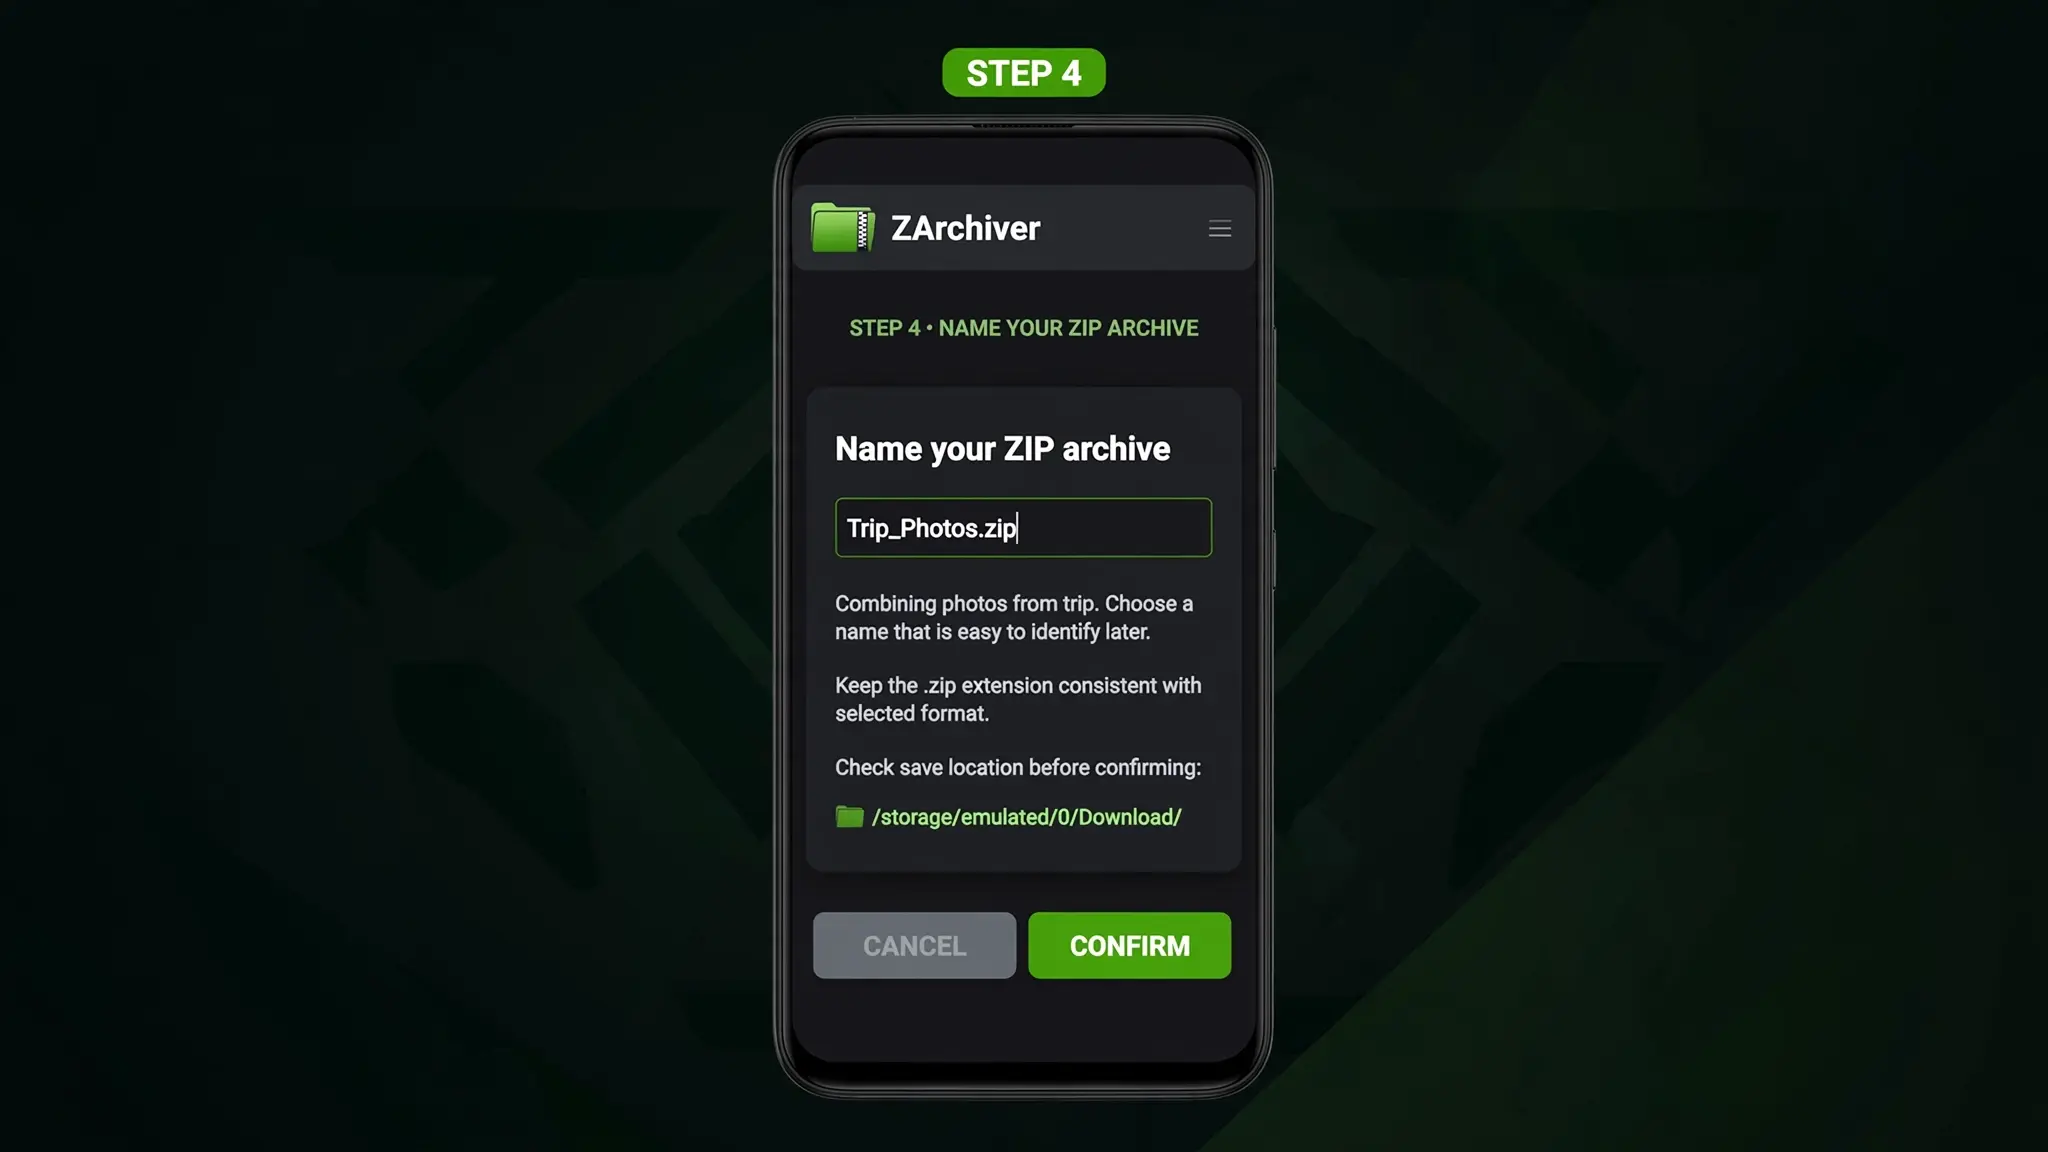
Enter a clear name for your new file. For example, if you’re combining photos from a trip, you could name the archive Trip_Photos.zip.
Choose a name that makes the archive easy to identify later. Keep the .zip extension consistent with the selected format, and check the save location before confirming.
Step 5: Select ZIP as the Archive Format
In the compression settings, choose ZIP as the archive format. ZIP is a practical choice for general file sharing because it is widely supported by file managers and computers.
You can also adjust the compression level and configure password protection if those options are available for the selected format.

Step 6: Create and Check the ZIP File
Review the settings and tap OK to start compression. Wait for ZArchiver to finish creating the archive.
Return to the destination folder and open the new ZIP file to verify that it contains the files you selected. Keep the original files until you’ve confirmed that the archive opens correctly and includes everything you intended.

How to Create a 7Z File on Android
The steps for creating a 7Z archive are very similar to those for ZIP. The main difference is the archive format you choose during compression.
- Open ZArchiver and browse to the files or folders you want to compress.
- Select the required items.
- Open the available actions menu and choose Compress.
- Enter a name for the archive.
- Select 7z or 7zip as the archive format.
- Choose your preferred compression level and any supported protection settings.
- Tap OK and wait for the archive to finish.
- Open the resulting
.7zfile to verify its contents.
The 7Z format is useful when you want more control over compression. Depending on the file types and settings, it may produce a smaller archive than ZIP, although the result is not guaranteed to be smaller in every case.
ZIP vs 7Z: Which Format Should You Choose?
Both ZIP and 7Z allow you to combine multiple files into one archive, but each has different advantages.
Feature |
ZIP |
7Z |
|---|---|---|
|
General compatibility |
Widely supported |
May require a compatible archive manager |
|
Compression options |
Adjustable in ZArchiver |
Adjustable in ZArchiver |
|
Resulting file size |
Depends on the files and settings |
May be smaller with suitable files and settings |
|
Password protection |
Supported |
Supported |
|
Best use |
Sharing files across different devices |
Storage when compression options matter |
Choose ZIP when you want an archive that is easy for other people to open on different devices.
Choose 7Z when you want additional control over compression and the people receiving the file have software that supports the format.
Remember that photos, videos, and other already-compressed files may not become much smaller in either format.
How to Change Compression Settings in ZArchiver
ZArchiver provides several compression levels for supported formats. The available options can vary depending on the archive format and app version.
No Compression
This option stores files without applying additional compression. It can be useful when speed matters more than reducing the archive size, but the resulting file may be relatively large.
Fastest or Fast Compression
These settings prioritize creating the archive quickly. They are useful when you want to package files without spending as much time on compression.
Normal Compression
Normal compression offers a practical balance between processing time and archive size. It is a good starting point for everyday files when you don’t have a specific compression requirement.
Maximum or Ultra Compression
Higher compression levels spend more time processing files in an attempt to reduce the archive size further. They can be useful for suitable, compressible data, but may take longer and use more processing resources.
Tip: Try the normal compression setting first. If the resulting archive is too large and the files are suitable for further compression, experiment with a stronger setting.
How to Create a Password-Protected ZIP or 7Z File
ZArchiver supports password protection for compatible archive formats, including ZIP and 7Z. This can help restrict access to files when sharing or storing an archive.
- Select the files you want to protect.
- Choose Compress from the available actions.
- Select ZIP or 7Z.
- Locate the password field in the archive settings.
- Enter a strong password and complete any confirmation requested by the app.
- Review the available encryption options for the selected format.
- Tap OK to create the protected archive.
- Open the archive afterward and confirm that it requests the password.
Choose a password that is difficult to guess, and store it somewhere secure. Forgetting the password can prevent you from accessing the protected files later. Also remember that password protection and filename encryption are not identical; available options depend on the chosen format and settings.
Where Is the ZIP or 7Z File Saved?
ZArchiver saves the new archive in the destination selected during creation. Depending on your settings, this might be the folder containing the original files or another location you selected.
For example, if you create an archive from files in Downloads, the result may appear as:
Internal Storage/Download/Project_Backup.zip
This path is only an example. Your actual save location and filename may differ.
If you cannot find the archive, return to the folder where you started the operation and check the destination shown in the compression settings. You can also search for the archive’s filename using a file manager.
Common Problems When Creating ZIP and 7Z Files
If ZArchiver fails to create an archive or the resulting file does not look correct, check the following possibilities.
Problem |
What to do |
|---|---|
|
Archive creation fails |
Confirm that the selected files still exist and that ZArchiver can access them. |
|
Not enough storage space |
Free up storage or choose a destination with more available space. |
|
Archive is larger than expected |
Try a different compression level, but remember that some files cannot be compressed much further. |
|
Some files are missing |
Check the selection before compression and verify the archive contents afterward. |
|
Archive saved in the wrong folder |
Review the destination path in the compression settings. |
|
Cannot access the destination |
Check the available permissions and whether Android restricts access to that folder. |
|
Password-protected archive will not open |
Check the password and the archive’s protection settings. |
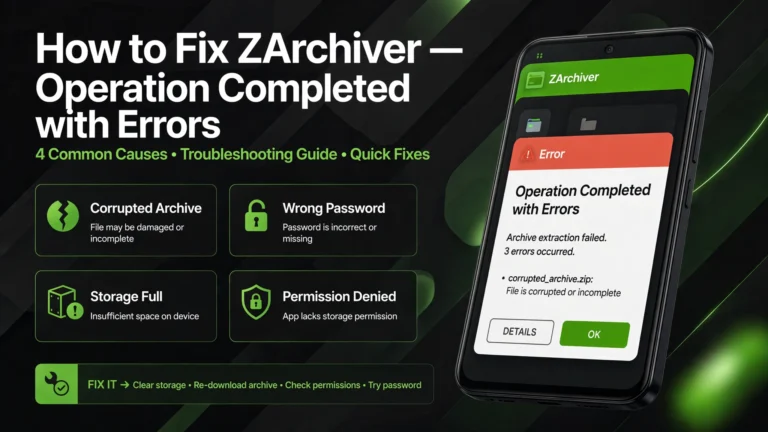
If you see “Operation Completed with Errors,” read our ZArchiver Operation Completed with Errors guide for more detailed troubleshooting.
If ZArchiver cannot access the folder containing your files or the selected destination, our ZArchiver Access Denied guide explains how to check permissions and understand Android’s storage restrictions.
Frequently Asked Questions
Conclusion
Creating ZIP and 7Z files with ZArchiver is a straightforward way to combine files, organize data, and prepare items for sharing or storage. Choose the format and compression level that suit your needs, check the destination, and verify the finished archive before deleting any original files.